


01 / Different setups
Use one stand for different devices.
Place a projector on the tray, or change the attachment for a compatible camera or light.
Tray mount02 / Laptops
Your stand-up workstation.
Keep a laptop beside your desk, presentation area, or music setup.
Tray mount03 / Speakers
Keep your speaker within reach.
The tray holds a compact speaker. Check its dimensions and weight against the stand’s limits.
Tray mount04 / Cameras
Find the right angle for your camera.
Attach a compatible camera to the ball head and adjust its angle.
360° swivel head · 1/4" thread05 / LED panels
Position an LED panel for filming.
Attach a compatible LED panel to the swivel head and adjust its angle.
Swivel-head attachment06 / Mini projectors
Attach smaller projectors.
Mount a compact projector on the swivel head if its thread and weight are compatible.
Threaded swivel-head mount07 / Softboxes
Add a softbox to your lighting setup.
Mount a compatible light on the 3/8-inch stud and attach its softbox.
3/8" lighting stud
Devices are not included. Check your device’s dimensions, mounting thread and weight against the attachment requirements.
02 / Cable management
Keep cables close to the stand.
The holder supports your power strip, while clips keep cables along the pole.
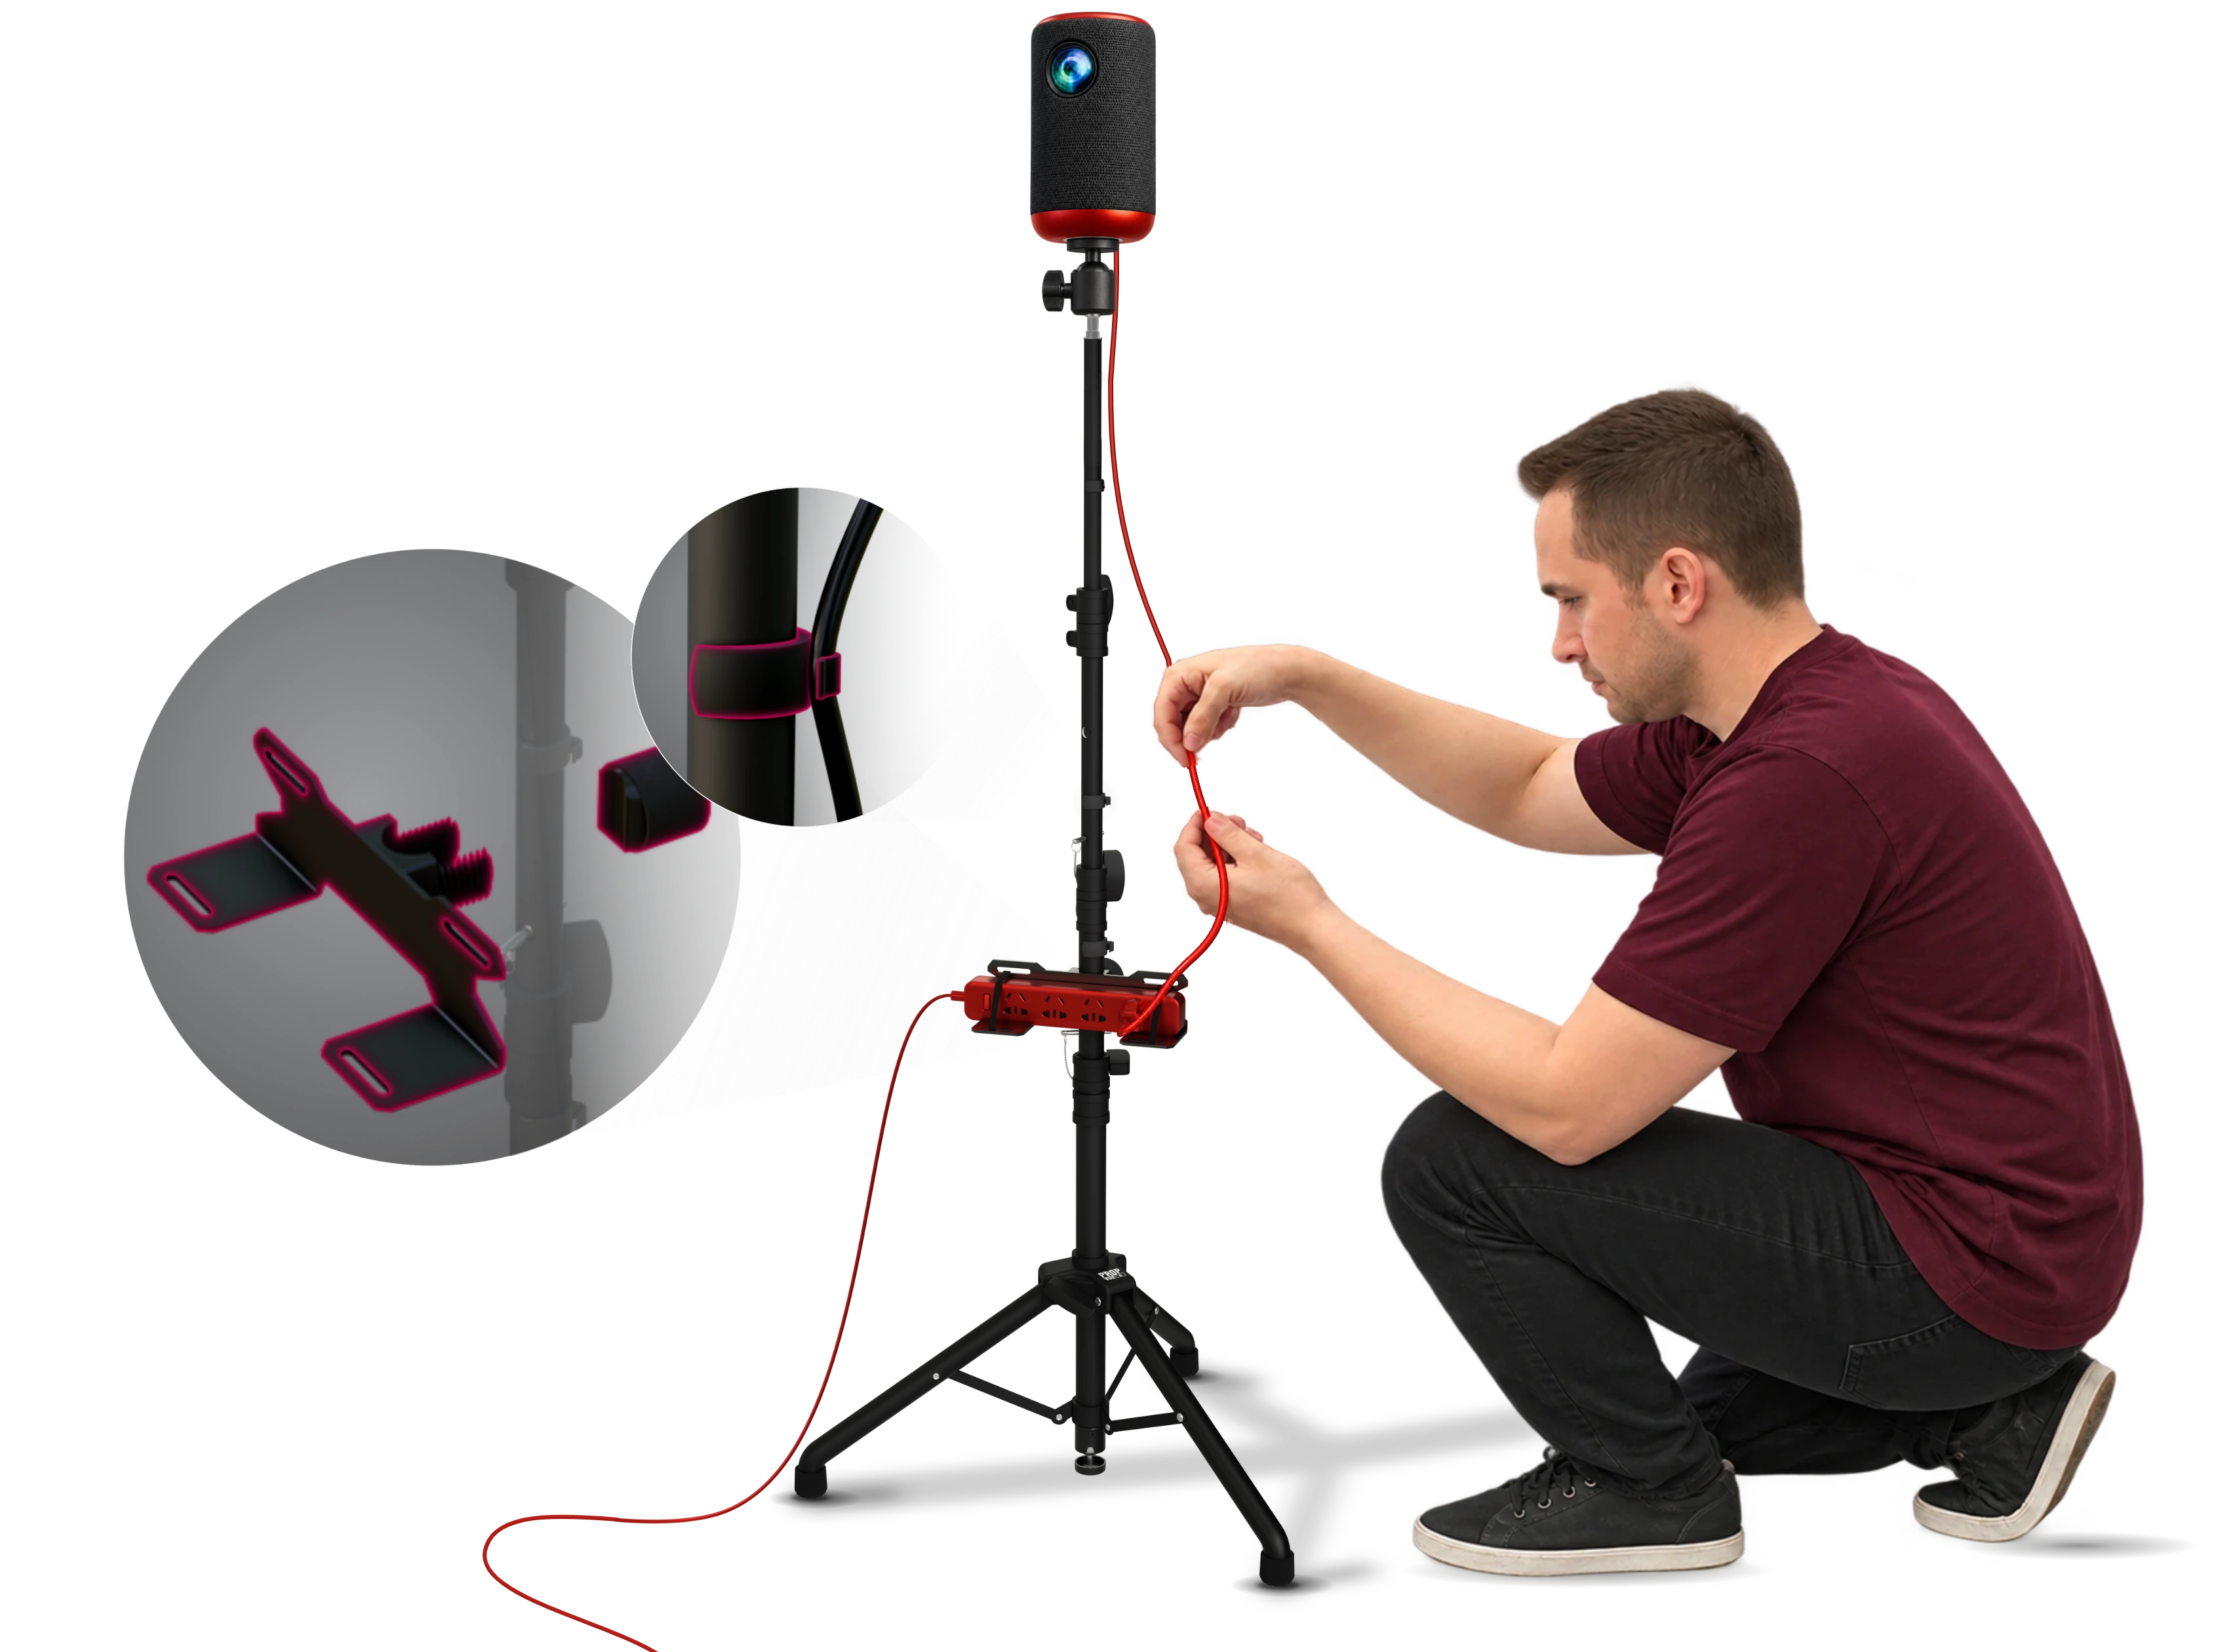

Secure your power strip.
Use the holder and straps to keep your power strip on the stand.

Clip cables to the pole.
Use the clips to secure loose cables along the pole.
03 / Stability and locking
A wide base with secure connections.
The tripod base supports the stand, while pins and locking knobs secure its adjustable sections.


Use the stand on a flat, stable surface. Engage the pins, tighten the knobs and keep equipment within the permitted load.
04 / Simple assembly
Attach the tray without tools.
The tray folds for packing and attaches to its holder with thumb screws.
- 01
Unfold the tray
Open the folded tray to its full width.
- 02
Secure the tray
Use the thumb screws to secure the tray to its holder.
- 03
Adjust and lock the height
Set the height, engage the pins and tighten the knobs before adding equipment.
Follow the supplied instructions for the complete assembly procedure.


05 / Work and studio setups
Make room for your laptop or light.
Position a laptop beside your desk, or use a separate stand to set your light at the height you need.
Multiple stands and devices shown to illustrate different uses.
06 / In the box
What’s included.
- Tripod body and height-adjustment sections
- Foldable tray, holder and thumb screws
- Swivel head and lighting stud
- Power-strip holder and cable clips
- Non-slip pads and securing straps
- Gooseneck phone holder, tool and carry bag
See full kit

07 / Size & adjustment
Check the dimensions and mounting options.
- Height range
- 27–59″ 69–150 cm
- Tray size
- 16.5 × 12.2″ 42 × 31 cm
- Base width shown
- 19.7″ 50 cm
- Swivel-head thread
- 1/4"
- Lighting-stud thread
- 3/8"
- Tray details
- Ventilation holes
Non-slip pads · folded metal construction
Check your device’s dimensions, mounting thread and weight before choosing an attachment.

FAQ
Before you order.
Will my device fit?
Check its dimensions and weight against the stand’s specifications. The tray measures 16.5 × 12.2 inches. For a camera, projector or light mounted directly, also check the thread and attachment requirements.
Which attachments are included?
The Basic kit includes a foldable tray and holder, a swivel head with a 1/4-inch thread, and a 3/8-inch lighting stud. The full kit is shown above.
Can I adjust the height and angle?
The stand adjusts from 27 to 59 inches. Use the tray holder or swivel head to set the angle, then secure the pins and knobs before adding equipment.
Does the tray need tools to attach?
The tray attaches to its holder with thumb screws that you tighten by hand. Follow the supplied instructions for the complete assembly procedure.
How does the 30% offer work?
Request the offer by text using the form above. When you receive your code, apply it at Amazon checkout for this Stand Basic. Check that the discount appears before placing your order.